Getting started
You must enable HTTP Requests and API Services within the Game Settings tab in Roblox studio. This is located under the Security section. Please ensure this is enabled before opening a ticket with our support team
1
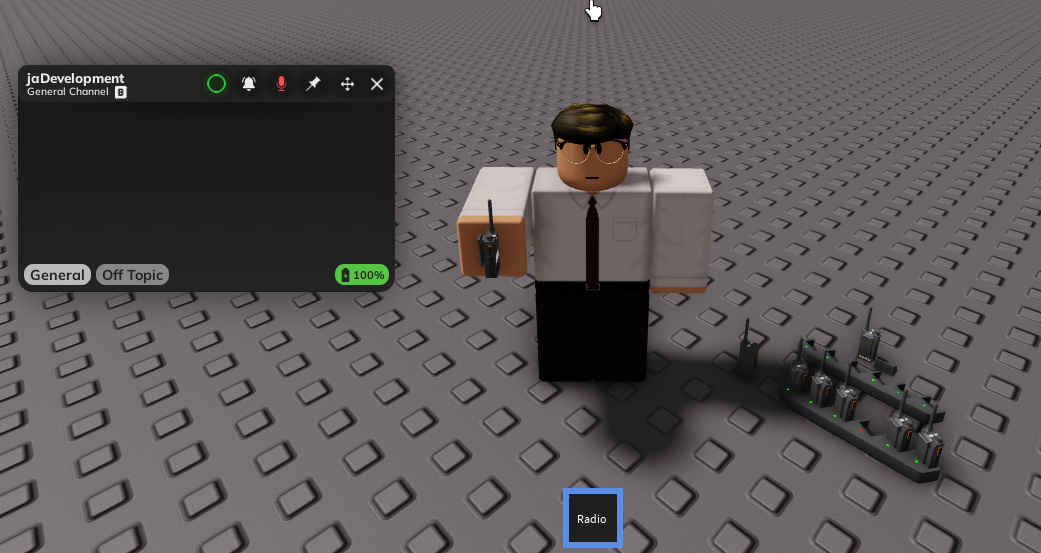
Drag and drop the .RBXM Radiolink file into workspace
After downloading the product, you will be given an RBXM file. Drag this into the Workspace of your game
2
Drag and ungroup the model from the folder
Drag the ‘SERVER STORAGE UNGROUP’ model into ServerStorage. Then, right click and press ‘Ungroup’ OR press CTRL+U when selecting the model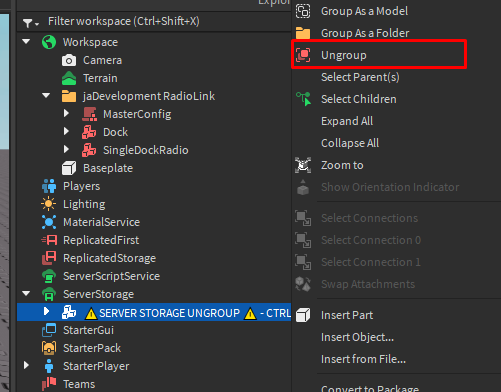
3
Get the sound effects
Head to each of the links below, and click the Get Audio button to add them to your inventory
https://create.roblox.com/store/asset/120476404256367/Radiolink-Pickup-SFX\\ https://create.roblox.com/store/asset/119990098740860/Radiolink-Notification-SFX\\ https://create.roblox.com/store/asset/136148474634635/Radiolink-Beep-SFX\\ https://create.roblox.com/store/asset/129478418290516/Radiolink-Alert-SFX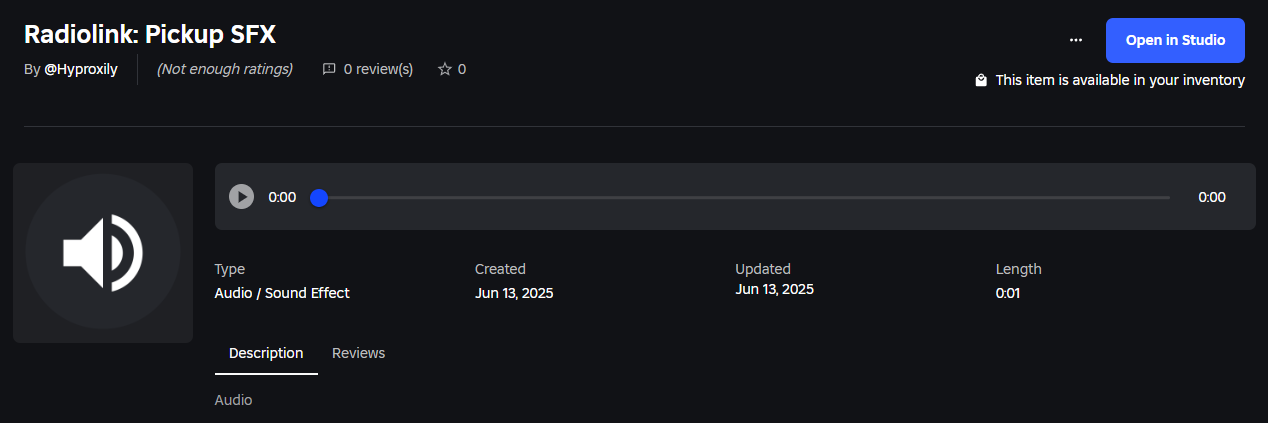
https://create.roblox.com/store/asset/120476404256367/Radiolink-Pickup-SFX\\ https://create.roblox.com/store/asset/119990098740860/Radiolink-Notification-SFX\\ https://create.roblox.com/store/asset/136148474634635/Radiolink-Beep-SFX\\ https://create.roblox.com/store/asset/129478418290516/Radiolink-Alert-SFX
4
All done!
You should now be able to test and make sure the Radio is working in its current state